
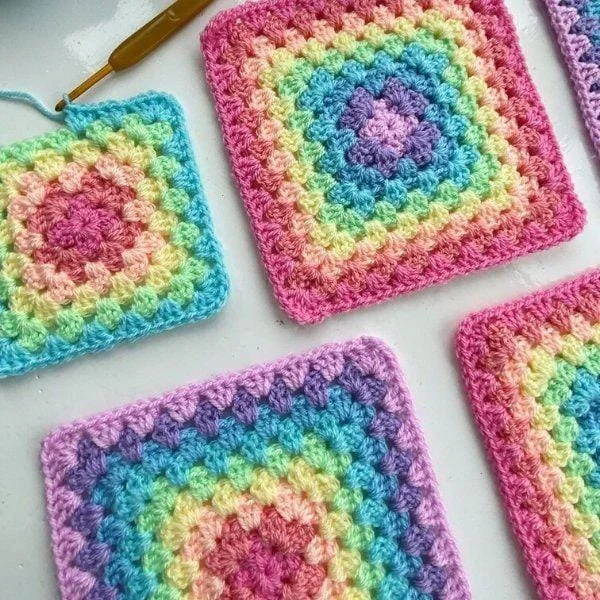
There’s something undeniably comforting and nostalgic about the granny square. With its timeless charm and versatile design, it has been a beloved staple in the world of crochet for generations. From cozy blankets and throws to stylish bags, cardigans, and even home décor, the granny square offers endless possibilities for creative expression.
Whether you’re a beginner learning your very first stitches or a seasoned crocheter looking to relax with a meditative, repetitive pattern, this classic granny square design is the perfect project. It’s ideal for using up leftover yarns, experimenting with colors, and building a beautiful handmade blanket one square at a time. In this version, we’ll work a continuous granny square to form a lovely throw measuring approximately 50 inches by 60 inches.
If you’ve never made a granny square before or if it’s been a while since you picked up your hook, don’t worry we’ve got you covered! This step-by-step written pattern will guide you through each round, and below you’ll also find a complete video tutorial and a printable PDF pattern to download and keep at your side.
🧶 Materials Needed:
-
Worsted weight yarn in your preferred colors
-
Crochet hook size H/5.0mm
-
Yarn needle for weaving in ends
Finished Size: Approximately 50 inches by 60 inches
🧵 Abbreviations:
-
Ch: Chain
-
DC: Double Crochet
-
Tr: Treble Crochet
-
Rep: Repeat
-
Sp: Space
-
St(s): Stitch(es)
📌 Instructions:
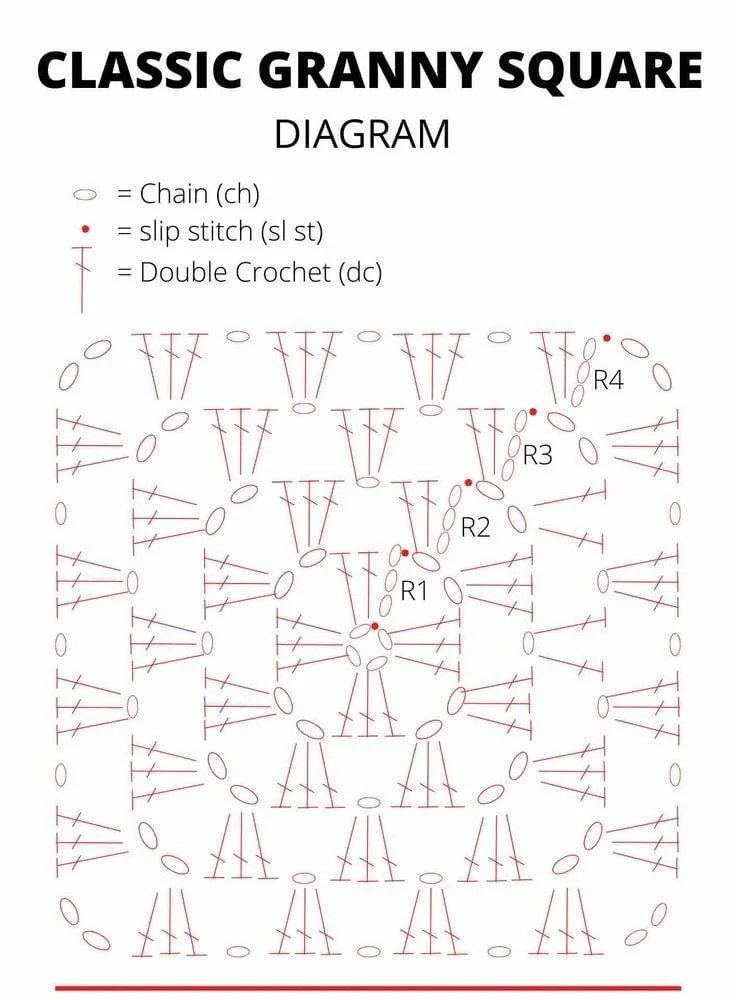
🪢 Foundation:
-
Create a slip knot and chain 4.
-
Join into a ring with a slip stitch.
-
Ch 3 (counts as first DC), make 2 DC into the ring, ch 2, 3 DC into the ring, ch 2; rep from * two more times.
-
Join with a sl st to the top of the beginning ch-3.
🔁 Round 1:
-
Ch 3, make 2 DC into the same ch-2 sp.
-
Ch 2, make 3 DC in the same ch-2 sp (1st corner complete).
-
Ch 1, skip 3 sts, make 3 DC, ch 2, 3 DC in the next ch-2 sp (next corner).
-
Rep from * to * two more times.
-
Ch 1, skip 3 sts, sl st to top of beginning ch-3 to join.
🔁 Round 2:
-
Ch 3, make 2 DC into the same ch-2 sp.
-
Ch 2, make 3 DC into the same ch-2 sp (corner made).
-
Ch 1, make 3 DC in the next ch-1 sp, ch 1,
-
Make 3 DC, ch 2, 3 DC in the next ch-2 sp.
-
Rep from * to * two more times.
-
Ch 1, make 3 DC in the next ch-1 sp, ch 1, join with a sl st to the top of beginning ch-3.
🔁 Rounds 3 and Beyond:
-
Repeat Round 2, increasing the number of ch-1 spaces between the clusters of 3 DCs as the square grows.
-
In each corner, work 3 DC, ch 2, 3 DC.
-
Continue this pattern until your blanket reaches approximately 50″ x 60″, or your desired size.
-
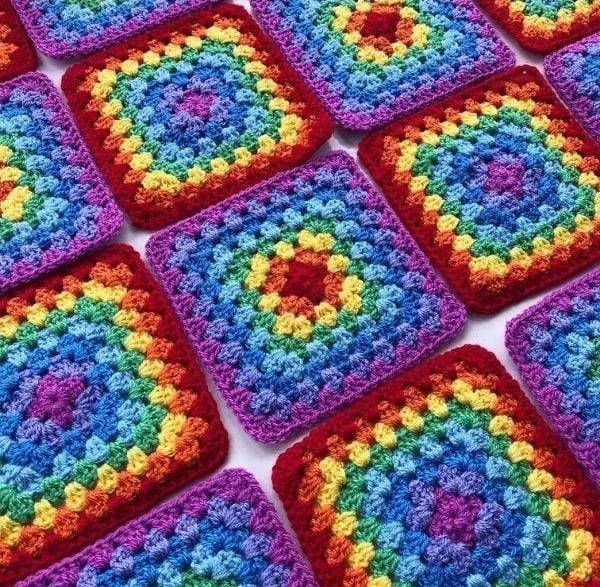
Feel free to change colors every few rounds to create a bold or subtle striped effect!
🧷 Finishing:
Once you’ve reached your desired size, fasten off the yarn and use your yarn needle to neatly weave in all loose ends.
📥 Download the Free PDF
To make it easier to follow along, we’ve provided the complete Granny Square Pattern in PDF format just below. Simply download it to your device, print it, or keep it handy as you crochet!
🎥 Need Extra Help? Watch the Video Tutorial!
If you’re a visual learner or want to see how each round is worked in real time, be sure to check out our step-by-step video tutorial! It explains every detail of the pattern and is perfect for beginners and visual learners.
Granny squares have stood the test of time because they are simple, beautiful, and endlessly customizable. Whether you stick with one color or go wild with a rainbow of hues, your finished piece will be full of love and warmth—just like crochet itself.
Happy crocheting! 🧵💖
– My Sweet Crafts