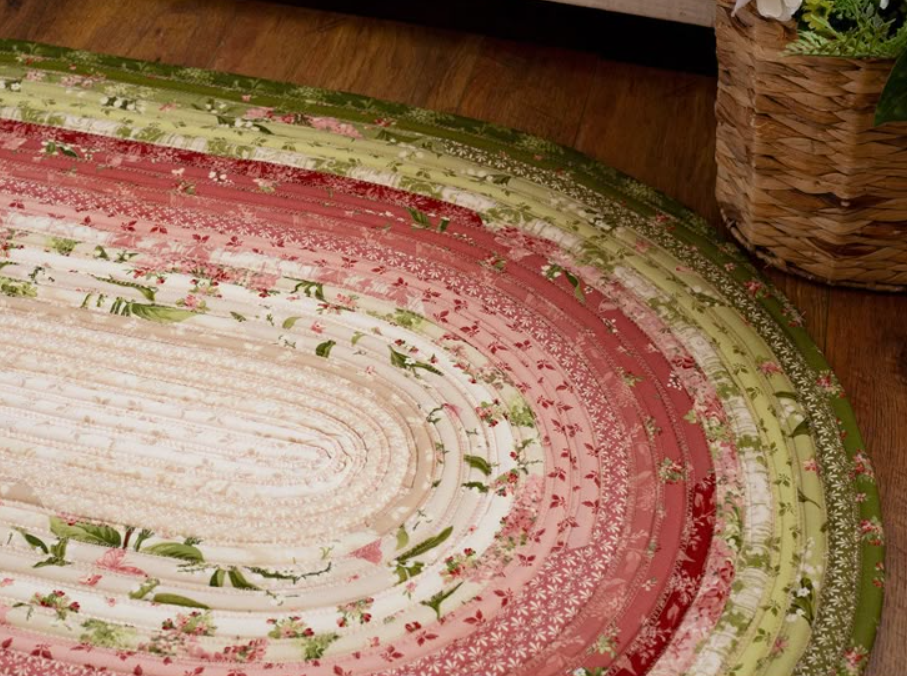
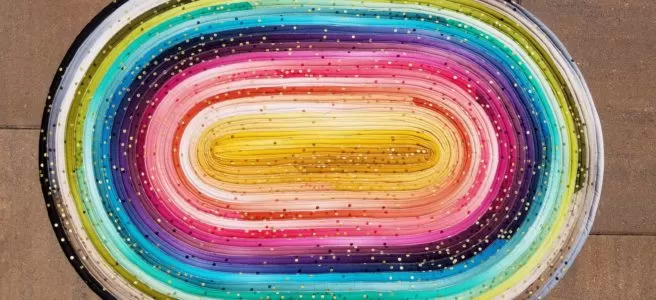
Looking for a creative way to use those vibrant jelly rolls sitting in your fabric stash? The Jelly Roll Rug is the perfect project to turn pre-cut fabric strips into a practical, eye-catching piece for your home. Whether you place it in your sewing room, entryway, or beside your bed, this quilted rug adds a handmade touch of charm and personality to any space.
There’s something incredibly satisfying about turning a bundle of fabric strips into something both beautiful and functional. The Jelly Roll Rug is one of those projects that instantly captures your attention not just for its vibrant colors and cozy texture, but for how surprisingly simple it is to create. Whether you’re an experienced quilter or just starting out, this project offers a relaxing way to sew while producing a piece that’s useful in any room of your home.
This project has gained popularity among quilters for its simplicity, versatility, and beautiful results. In this post, we’ll guide you through the basics of making your own Jelly Roll Rug and share ideas for customization. Plus, don’t miss the free pattern PDF and helpful video tutorial at the end of the article!
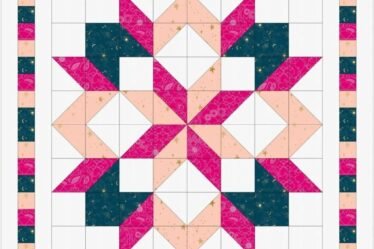
What Is a Jelly Roll Rug?
A jelly roll is a bundle of pre-cut fabric strips, usually measuring 2.5” x 42”, rolled together in coordinating colors and prints. These rolls make quilting projects faster and more fun, and the Jelly Roll Rug is one of the most creative ways to use them.
The Jelly Roll Rug is made by sewing the strips end-to-end, folding and stitching them into a long tube, and then coiling and stitching the tube into an oval or rectangle shape. The result? A thick, colorful, and sturdy rug you’ll be proud to display!
Materials Needed
-
One Jelly Roll (or about 42 strips of 2.5″ x WOF fabric)
-
Cotton batting (you can buy pre-cut batting strips or cut your own 2.5″ wide strips)
-
Thread: Heavy-duty cotton or polyester
-
Sewing machine (a walking foot is highly recommended)
-
Denim or jeans needle (size 90/14 or 100/16)
-
Pins or clips
-
Iron and pressing surface
-
Scissors or rotary cutter

Popular Rug Shapes
-
Oval: Classic and easier for beginners
-
Rectangle: Great for hallways and kitchens
-
Round: A fun variation if you coil from the center outward
📄 Free Jelly Roll Rug Pattern PDF
We’ve put together a free PDF pattern with step-by-step instructions and diagrams to guide you through the process. Perfect for beginners or anyone looking for a relaxing weekend project.
🎥 Watch the Video Tutorial
Prefer learning by watching? Our video tutorial walks you through each stage of the project, from joining strips to finishing the final stitch.
The Jelly Roll Rug is one of those projects that blends form and function effortlessly. It’s satisfying, beginner-friendly, and a fantastic way to show off your favorite fabrics. Whether you’re making one for your home or as a heartfelt gift, this colorful rug is sure to bring warmth and joy to any space.
So grab your jelly roll, fire up your sewing machine, and get ready to stitch up something beautiful!
Happy Quilting!
🧵🧡
– The My Sweet Crafts Team