Few quilt blocks are as iconic and enduring as the Ohio Star. With its bold points and timeless symmetry, this traditional nine-patch block has been a favorite among quilters since the early 1800s. Whether you’re just beginning your quilting journey or are a seasoned maker, the Ohio Star offers the perfect mix of simplicity and visual impact.
This block is traditionally made using square and quarter-square triangle units, making it an excellent pattern to practice accurate cutting and piecing techniques. It’s a versatile design that can be adapted for everything from vintage-style quilts to bold modern interpretations just by switching up your fabric choices.
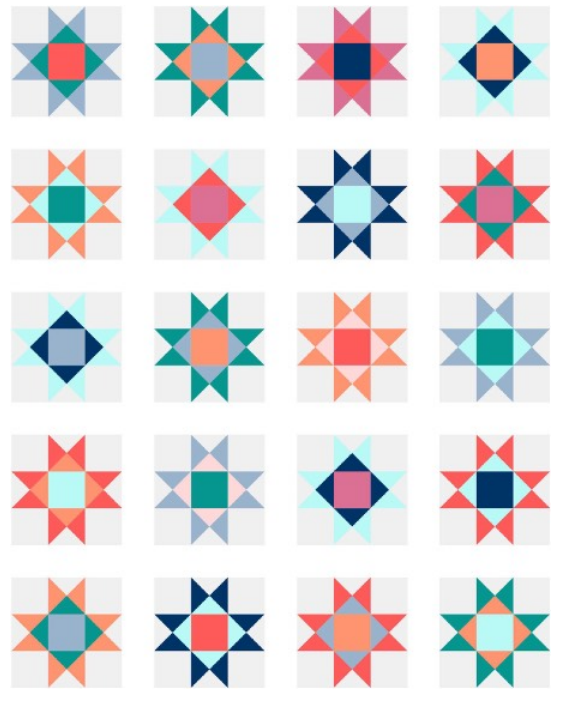
The Ohio Star is more than just a quilt block it’s a symbol of heritage and artistry. Its origins date back to early American settlers who used simple geometric forms to tell stories and bring beauty to everyday life. Today, the Ohio Star remains a favorite because of its clean lines, easy construction, and stunning visual impact, whether made in traditional prints or bold modern solids.
Ohio Star Quilt Block Pattern
Why Quilters Love the Ohio Star
Timeless Design: Its symmetrical star shape never goes out of style.
Easy to Construct: Using basic shapes like squares and triangles, it’s beginner-friendly yet offers a polished look.
Endlessly Customizable: Adjust colors and fabric placement for completely different visual effects.
Materials Needed
To make one standard 12” finished block:
(1) 4.5″ square for the center (main fabric)
(4) 4″ squares for the background
(4) 4″ squares for the star points (contrasting fabric)
You’ll also need:
Rotary cutter and quilting ruler
Cutting mat
Iron and pressing surface
Sewing machine or needle for hand stitching
Coordinating thread
Block pattern
How to Assemble the Ohio Star Block
Make Quarter-Square Triangles (QSTs) Pair each 4″ square of background fabric with a star point square. Sew together to make half-square triangles (HSTs), then pair and sew those HSTs again to make QSTs. You’ll need 4 QSTs for the corners.
Layout the Block Arrange your pieces in a 3×3 grid:
Corners: QSTs
Center: Main 4.5″ square
Sides: 4″ background squares
Sew the Rows Stitch each row together, press the seams (alternating directions helps with nesting), then sew the three rows into a complete block.
Press and Square Up Give your finished block a good press and trim it to 12.5″ if needed.
Creative Variations
Scrappy Style: Use leftover fabric for a colorful, eclectic look.
Monochrome: Try all one color in varying shades for a subtle star effect.
Add Sashing or Borders: Enhance the layout by spacing the blocks apart or framing them.
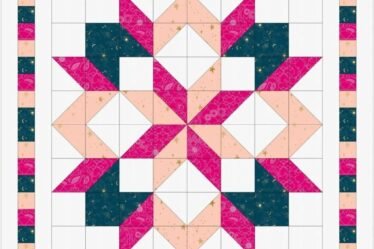
Diagram
Stay tuned soon, I’ll be sharing a free downloadable PDF with detailed instructions so you can start creating your own Ohio Star quilt blocks with ease. Happy quilting!
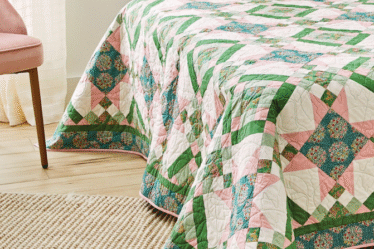
The Ohio Star block is a must-have in any quilter’s repertoire. It’s a building block of American quilt history and a great way to explore color, symmetry, and traditional piecing techniques. Whether used in a sampler, repeated for a stunning quilt top, or featured as a pillow or wall hanging, this classic block never disappoints.